Home> Interior Design
Interior Design
Difficult, time-consuming and expensive: these are words that are commonly associated with interior design. Not anymore with Storables! Hop on board the #cottagecore trend, be blown away by our array of English kitchens, add a touch of whimsical using tiny fairy lights and more. Whether you’re looking for ideas or products, here is the best of interior design: carefully curated and consolidated by experts, and loved by many across the globe.
By: Chloe Davis • Interior Design
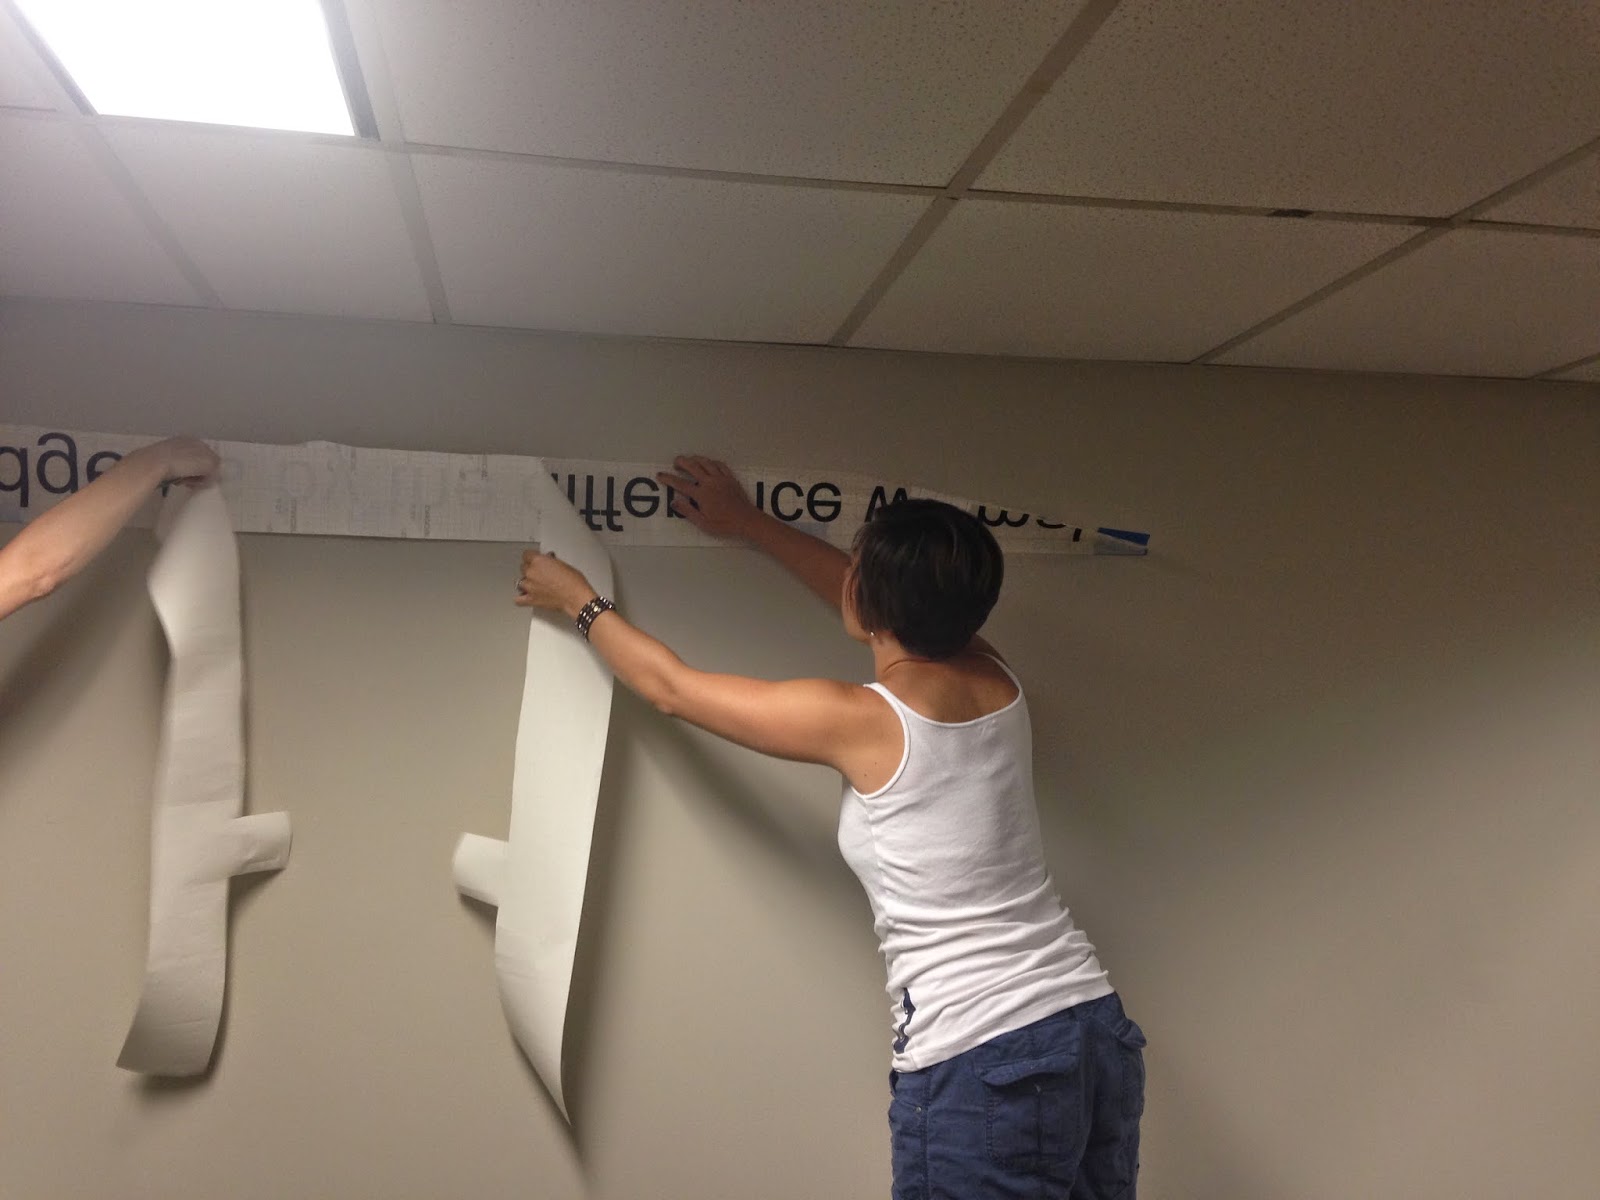
How To Put Up Wall Decals With Transfer Paper
Introduction Welcome to the world of wall decals! If you’re looking to add a touch of style, personality, or even a whimsical design element to your living space, wall decals are a fantastic choice. They are easy to apply, affordable, and can transform any room in a matter of minutes....
Read More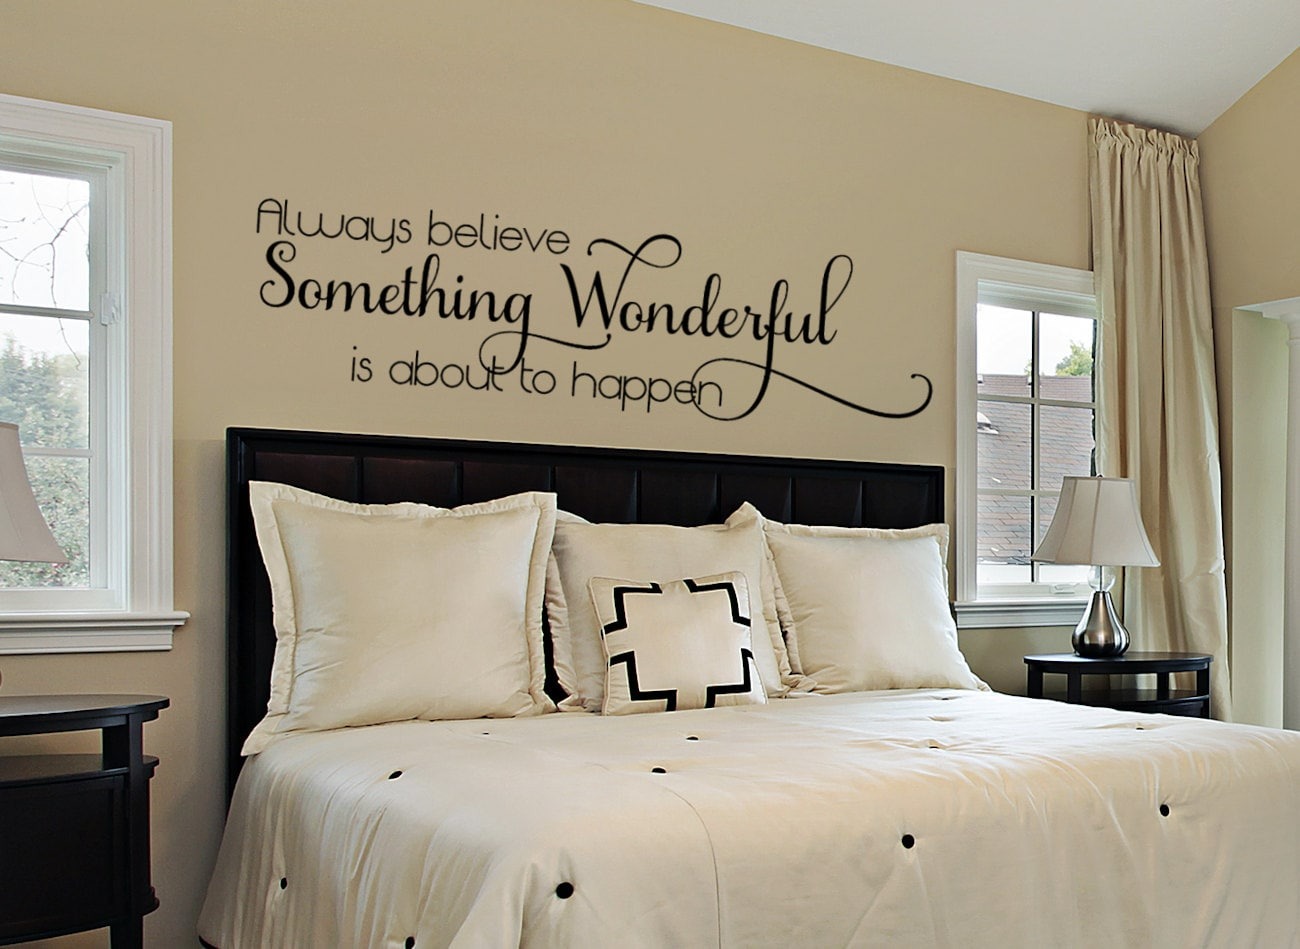
By: Isabella Mitchell • Interior Design
How To Build Wall Decals For The Bedroom
Introduction Welcome to the world of interior design, where creativity knows no bounds. One of the most exciting elements of designing a bedroom is choosing how to decorate the walls. Wall decals have become increasingly popular in recent years, offering a versatile and cost-effective way to add personality and flair...
Read More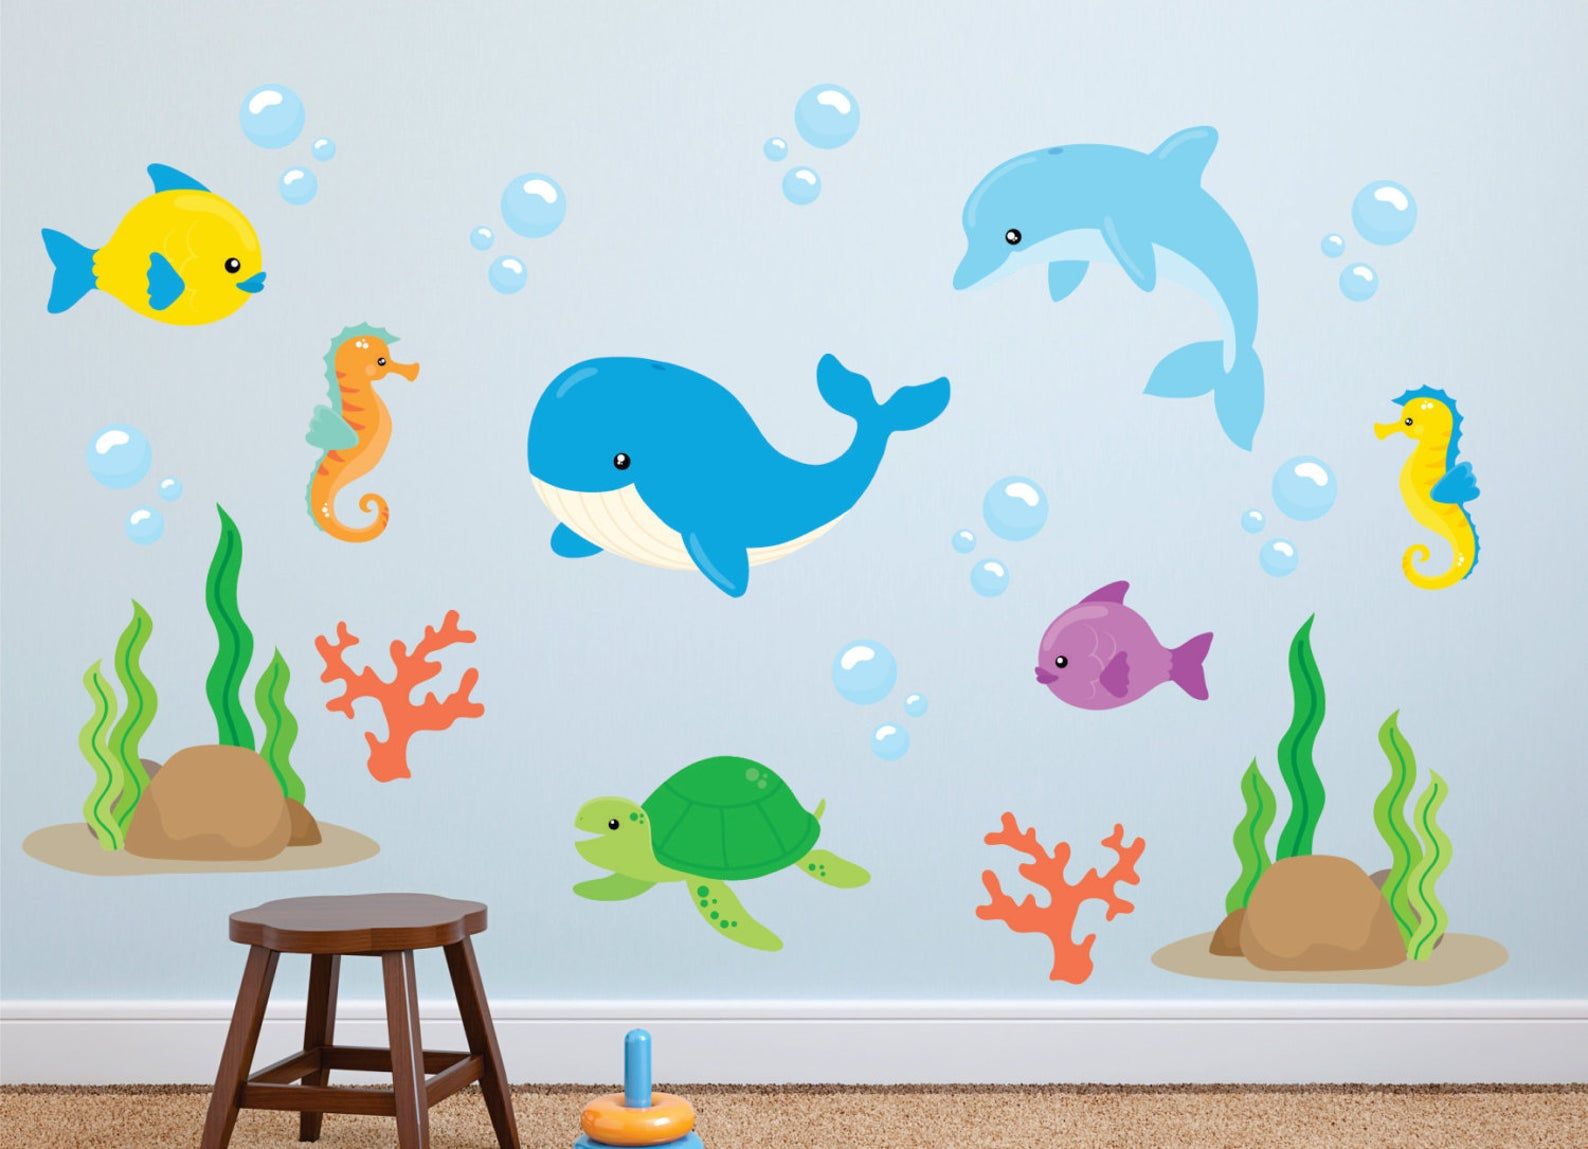
By: Alexander Johnson • Interior Design
Introduction Welcome to the world of interior design, where creativity meets functionality and every element in a space plays a crucial role in defining its ambiance. One such element that has gained immense popularity in recent years is wall decals. These versatile adhesive decorations offer a quick and easy way...
Read More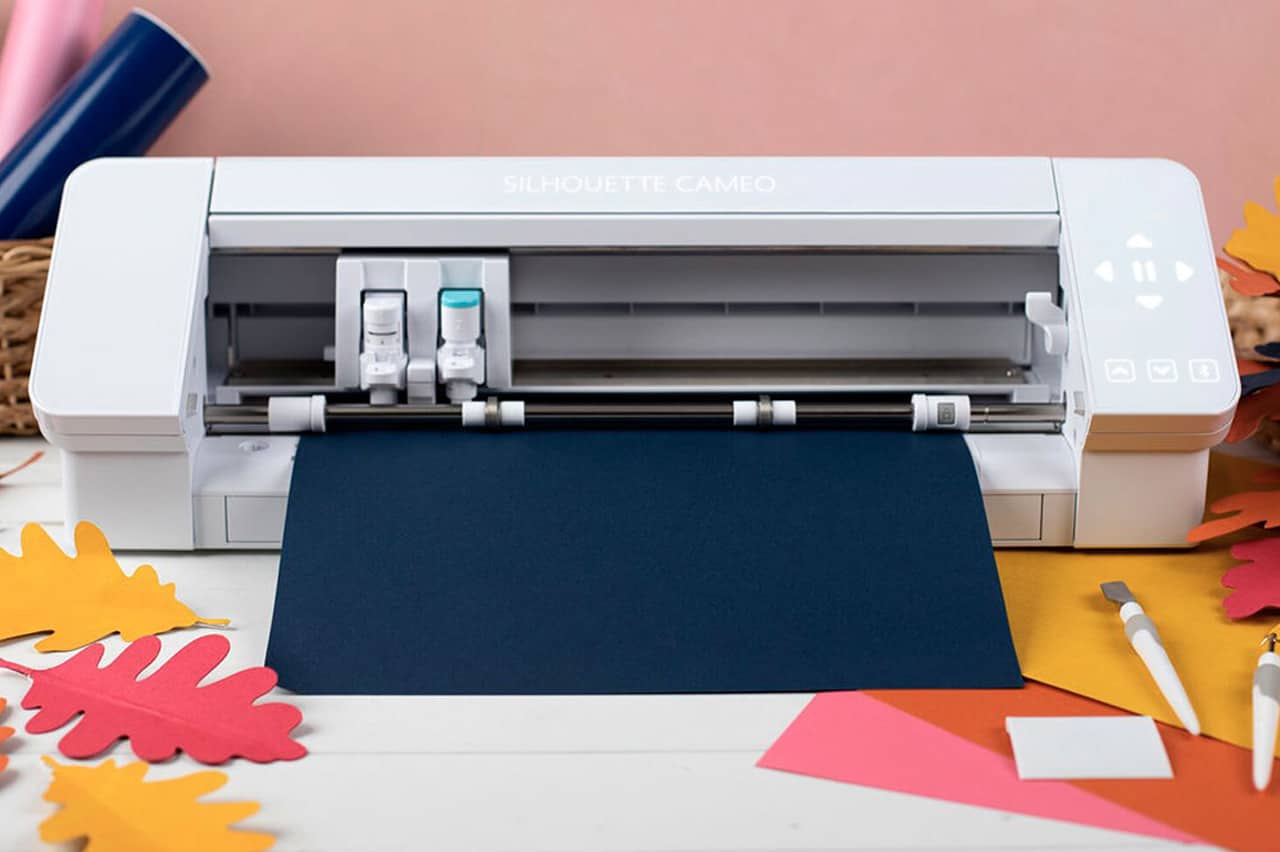
By: Chloe Davis • Interior Design
How To Make Vinyl Wall Decals With Silhouette Cameo
Introduction Welcome to the world of interior design where creativity knows no bounds. In this article, we will explore the fascinating process of creating vinyl wall decals using the Silhouette Cameo, a powerful tool that allows you to bring your design ideas to life. Whether you want to add a...
Read More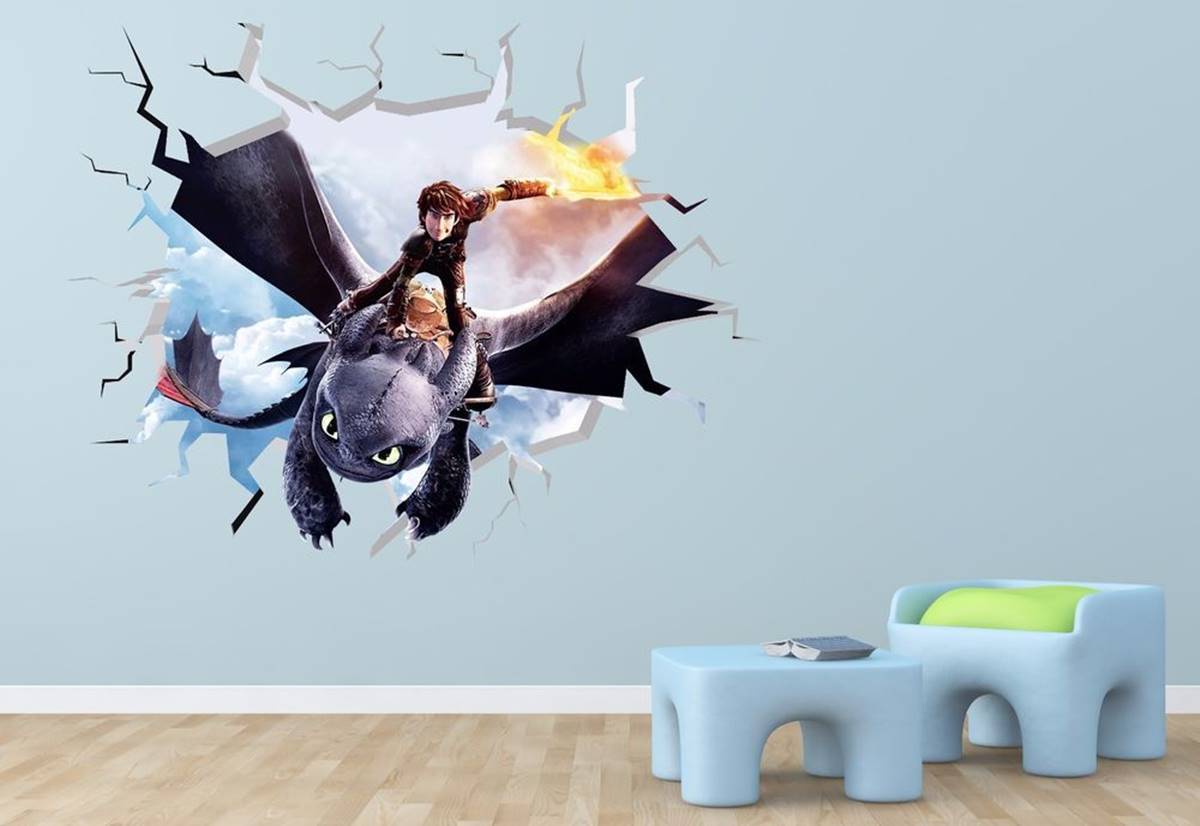
By: William Harrison • Interior Design
How To Train Your Dragon Wall Decals
Introduction Welcome to the magical world of interior design! As an expert in the field, I am thrilled to share with you the wonders of using dragon wall decals to transform your space. From adding a touch of fantasy to creating a statement piece, dragon wall decals offer endless possibilities...
Read More
By: James Anderson • Interior Design
How To Make Wall Decals Stick To Textured Walls
Introduction Welcome to the world of interior design, where creative expression and personal style come to life. One of the most exciting aspects of interior design is the ability to transform a space with simple additions, such as wall decals. Wall decals are a fantastic way to add personality, charm,...
Read More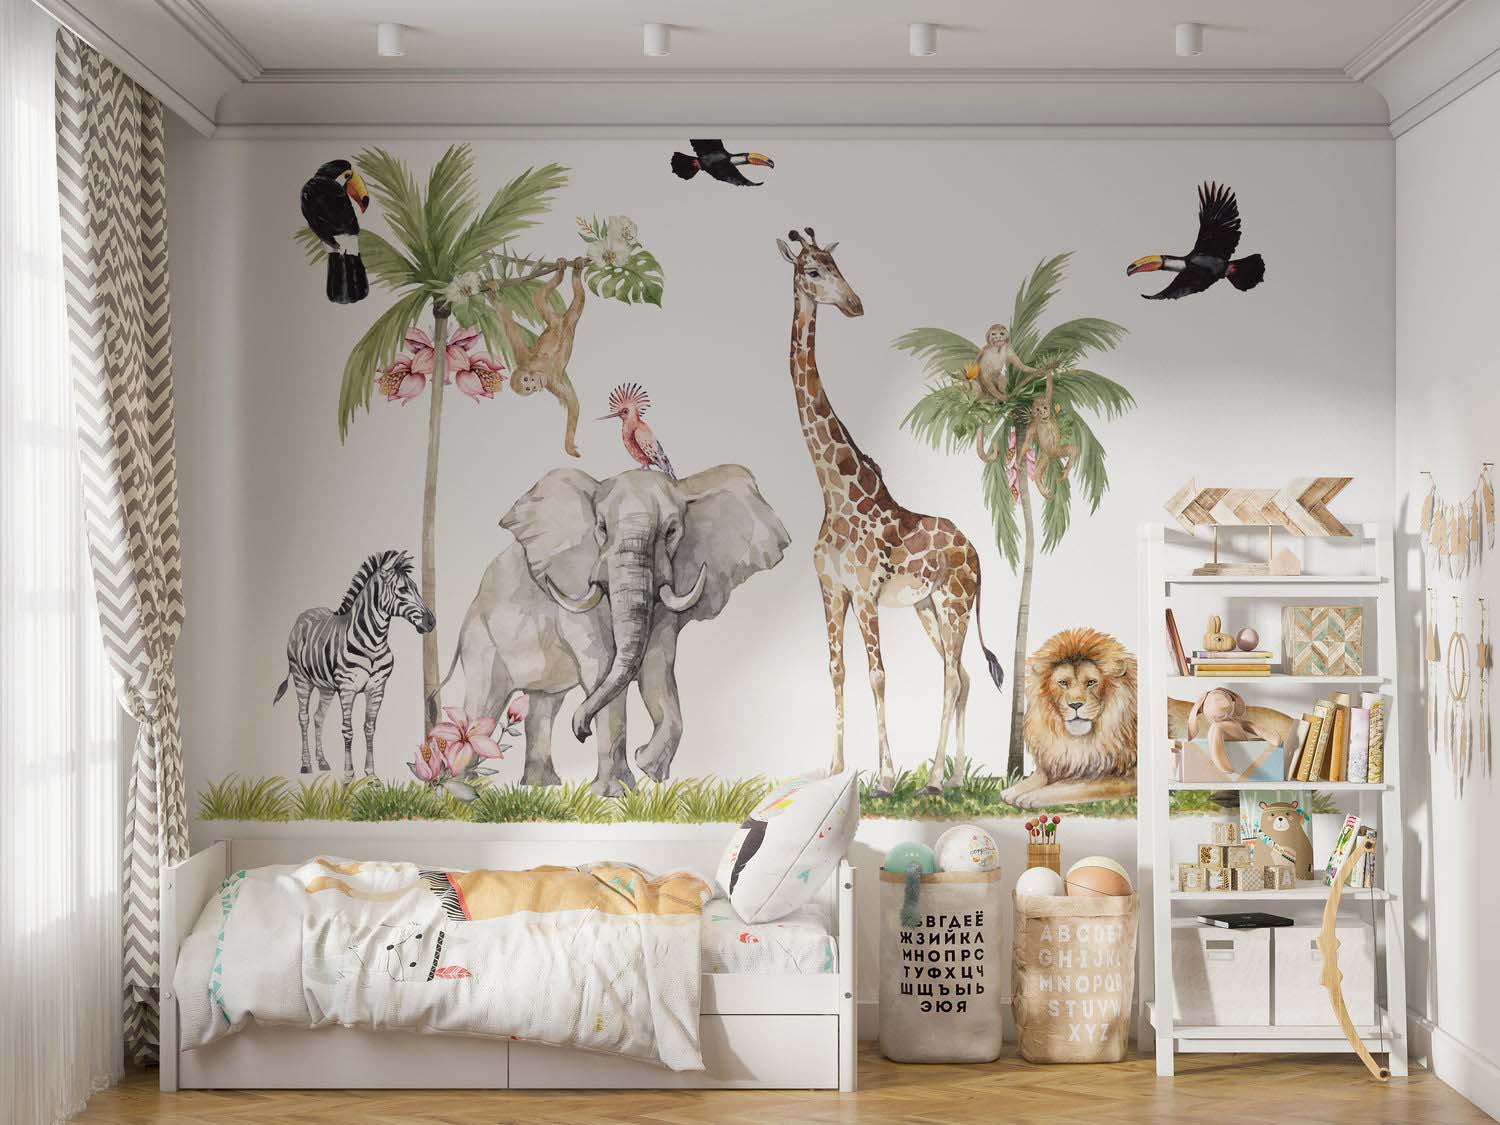
By: Isabella Mitchell • Interior Design
Introduction In the world of interior design, walls are often seen as a canvas waiting to be filled with artwork, color, and personality. One popular and innovative way to add style and flair to your walls is through the use of wall decals. Whether you are looking to create a...
Read More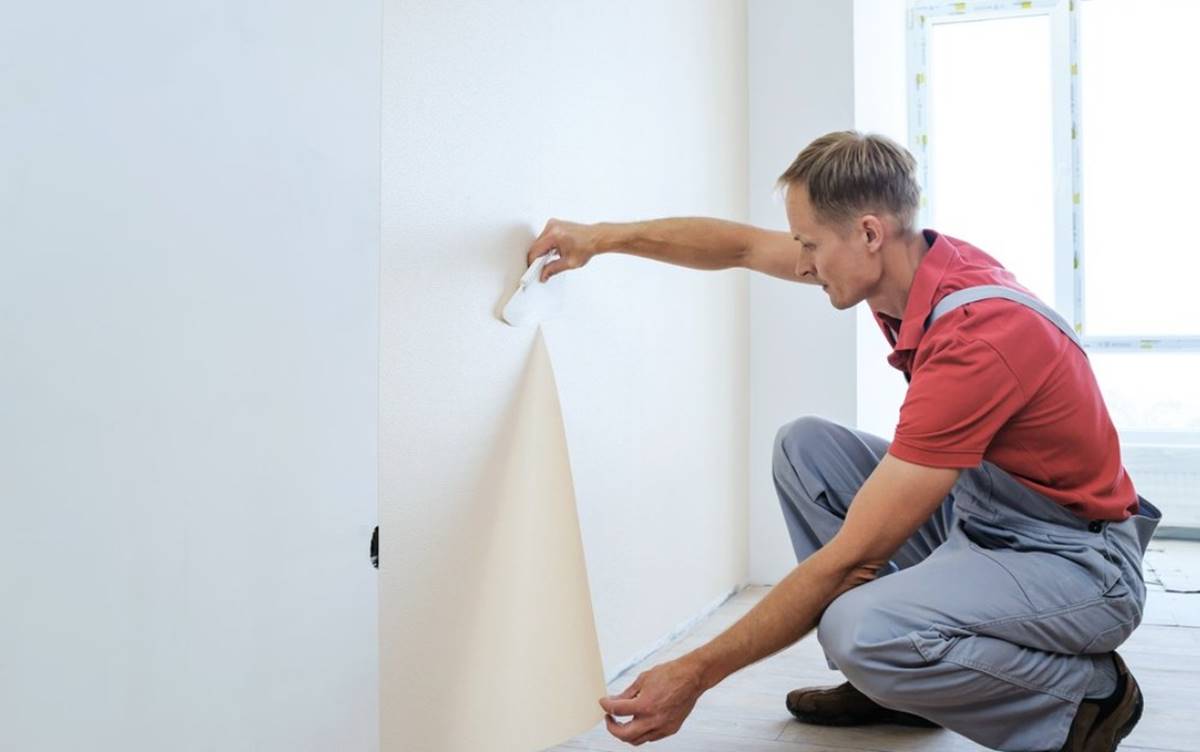
By: Oliver Mitchell • Interior Design
How To Save Your Wall Decals When Moving
Introduction Wall decals are a fantastic way to add a touch of personality and style to your living space. Whether you have chosen inspirational quotes, intricate designs, or whimsical patterns, wall decals can instantly transform the look and feel of a room. But what happens when it’s time to move?...
Read More
By: James Anderson • Interior Design
Introduction Wall decals can be a great way to add a personal touch to any room in your home. Whether it’s a whimsical design in a child’s bedroom or an elegant motif in the living room, wall decals have become a popular choice for interior decoration. However, there may come...
Read More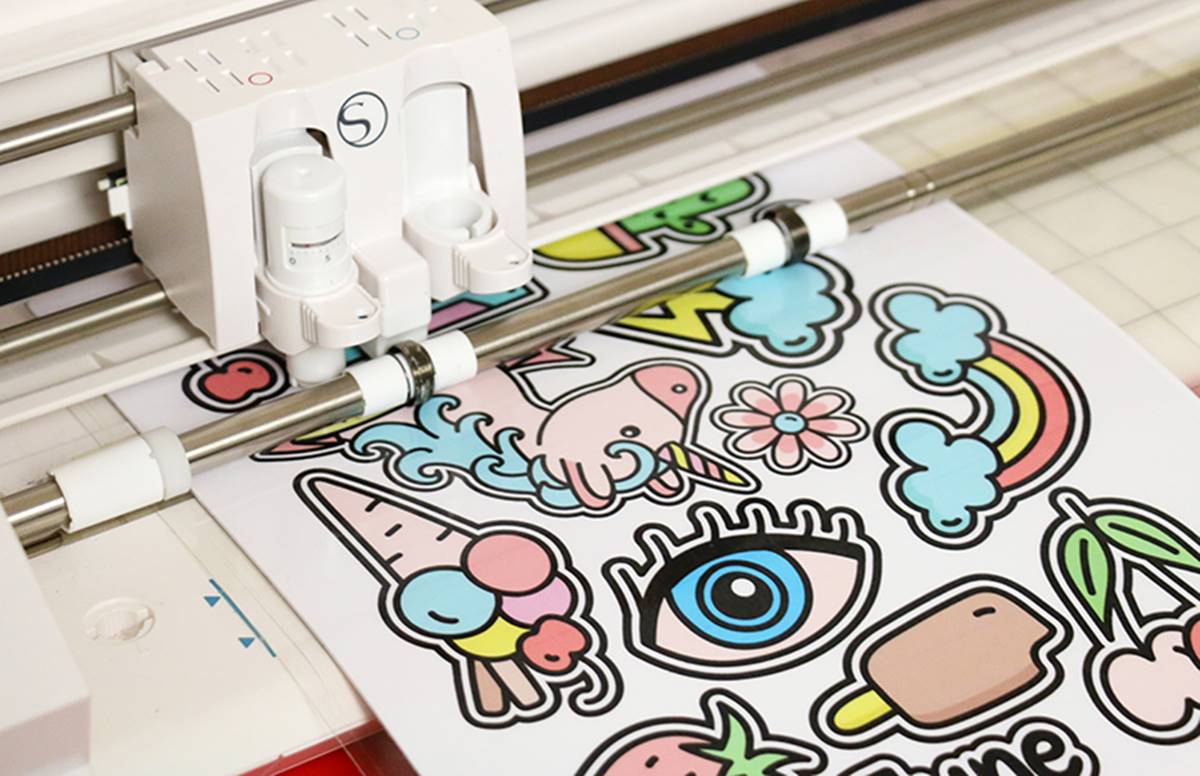
By: Chloe Davis • Interior Design
What Vinyl To Use For Wall Decals
Introduction Wall decals have become increasingly popular in interior design, offering an easy and affordable way to transform any space. These adhesive decorations come in a variety of designs and styles, allowing you to personalize your walls and add a touch of creativity to your home or office. Whether you...
Read More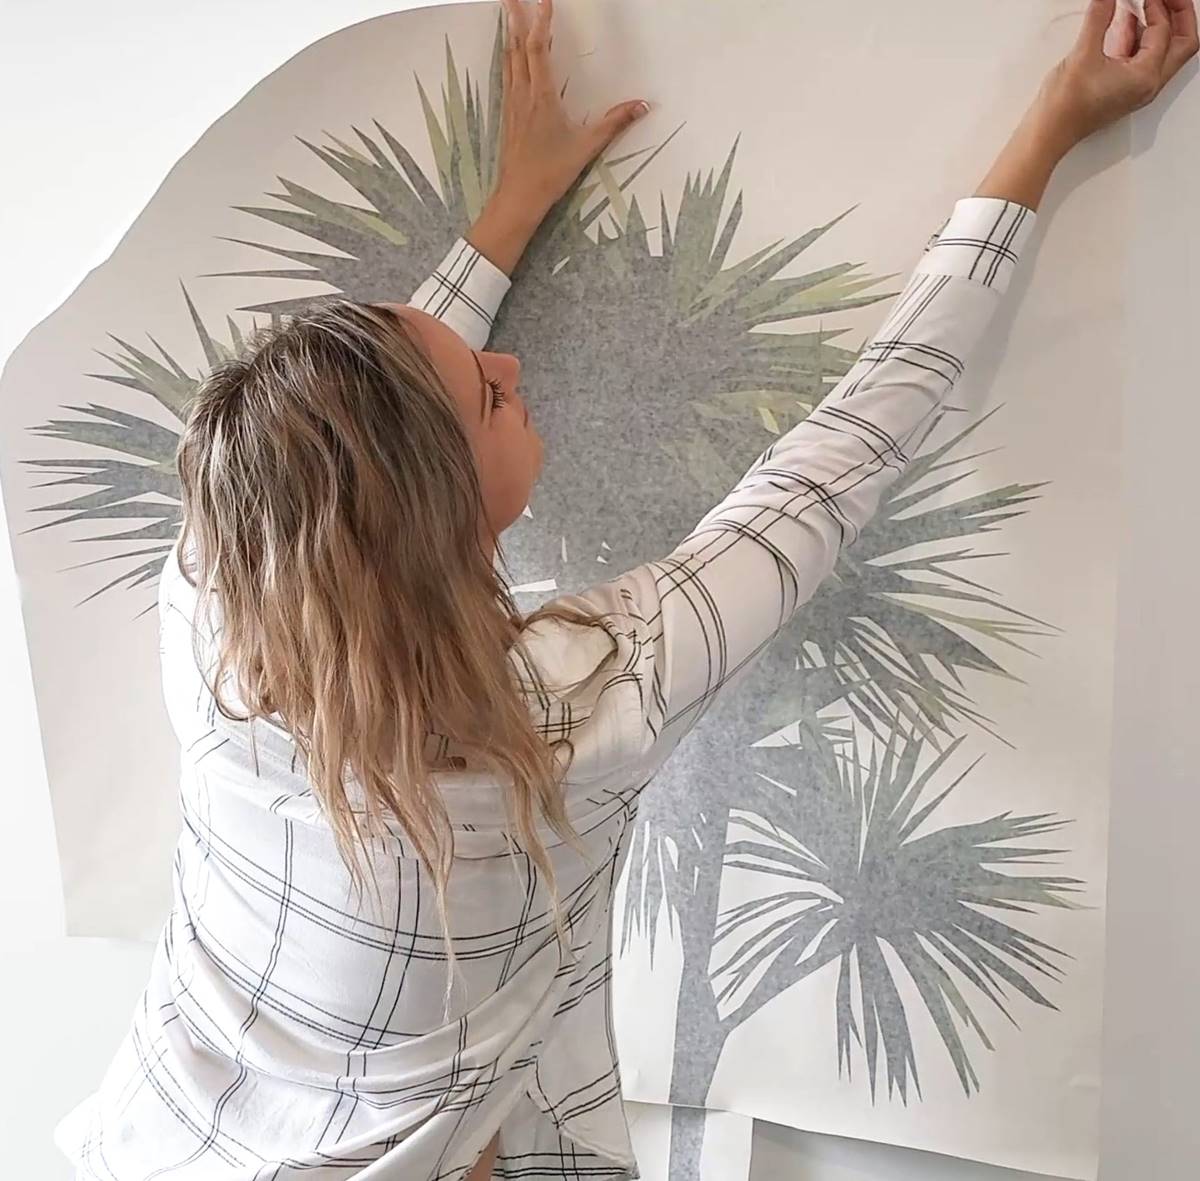
By: Noah Bennett • Interior Design
Introduction When it comes to interior design, one of the most cost-effective ways to transform a space is by using wall decals. Wall decals, also known as wall stickers or wall graphics, are adhesive designs that can be easily applied to any smooth surface, giving a room an instant makeover...
Read More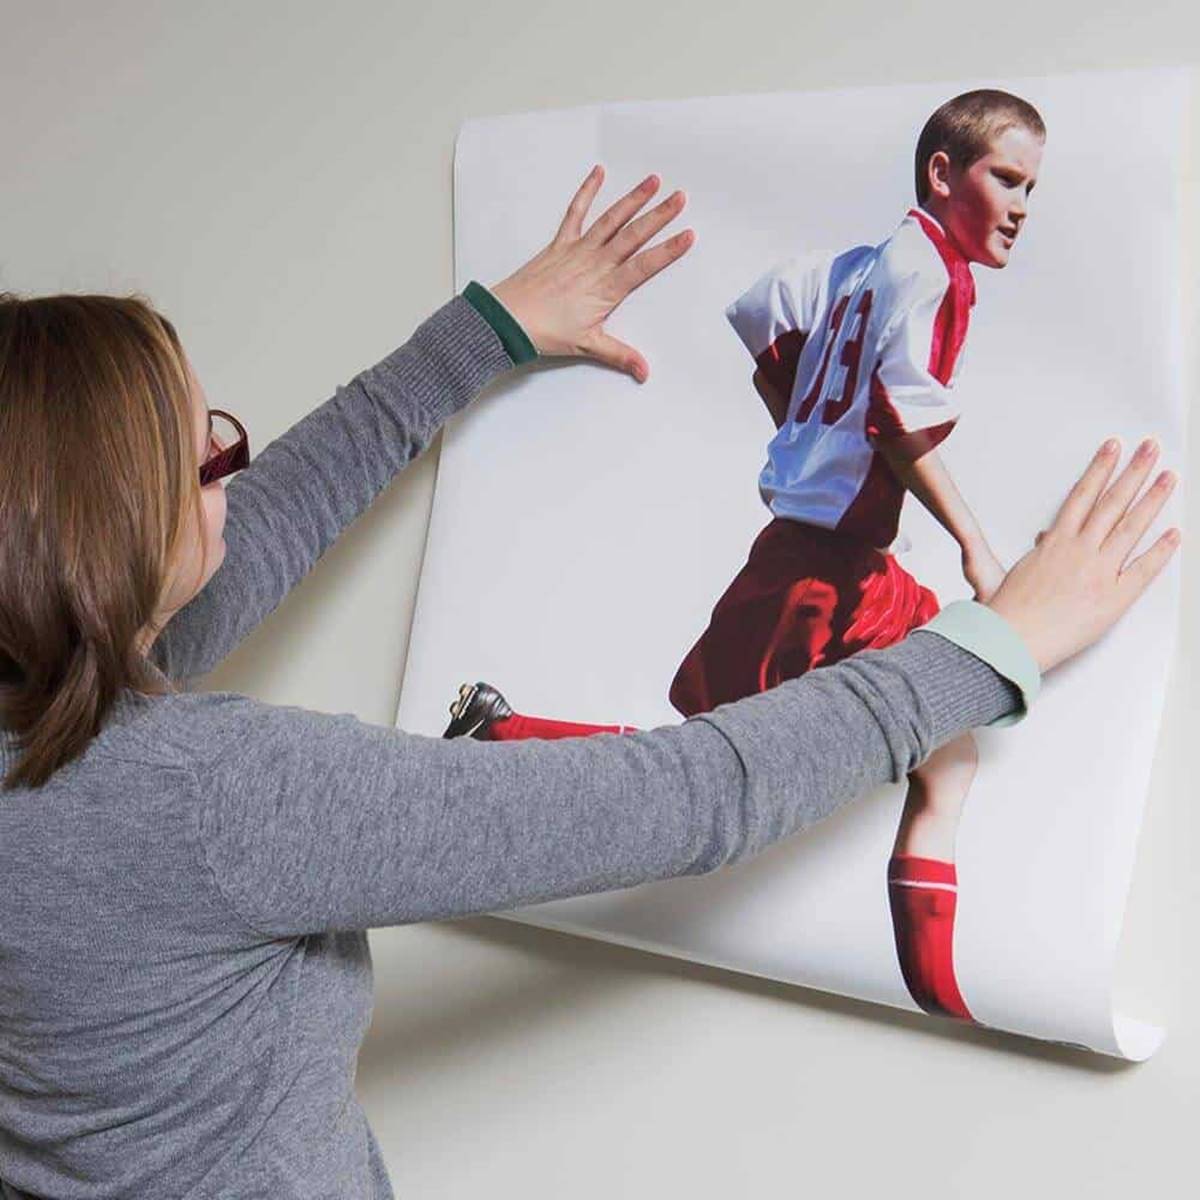
By: Sophia Turner • Interior Design
How To Make Your Own Wall Decals
Introduction Have you ever wanted to add a touch of personalization and creativity to your walls? Wall decals are a fantastic way to transform any space and express your unique style. Whether you’re looking to revamp a room, create a focal point, or simply add a decorative element, making your...
Read More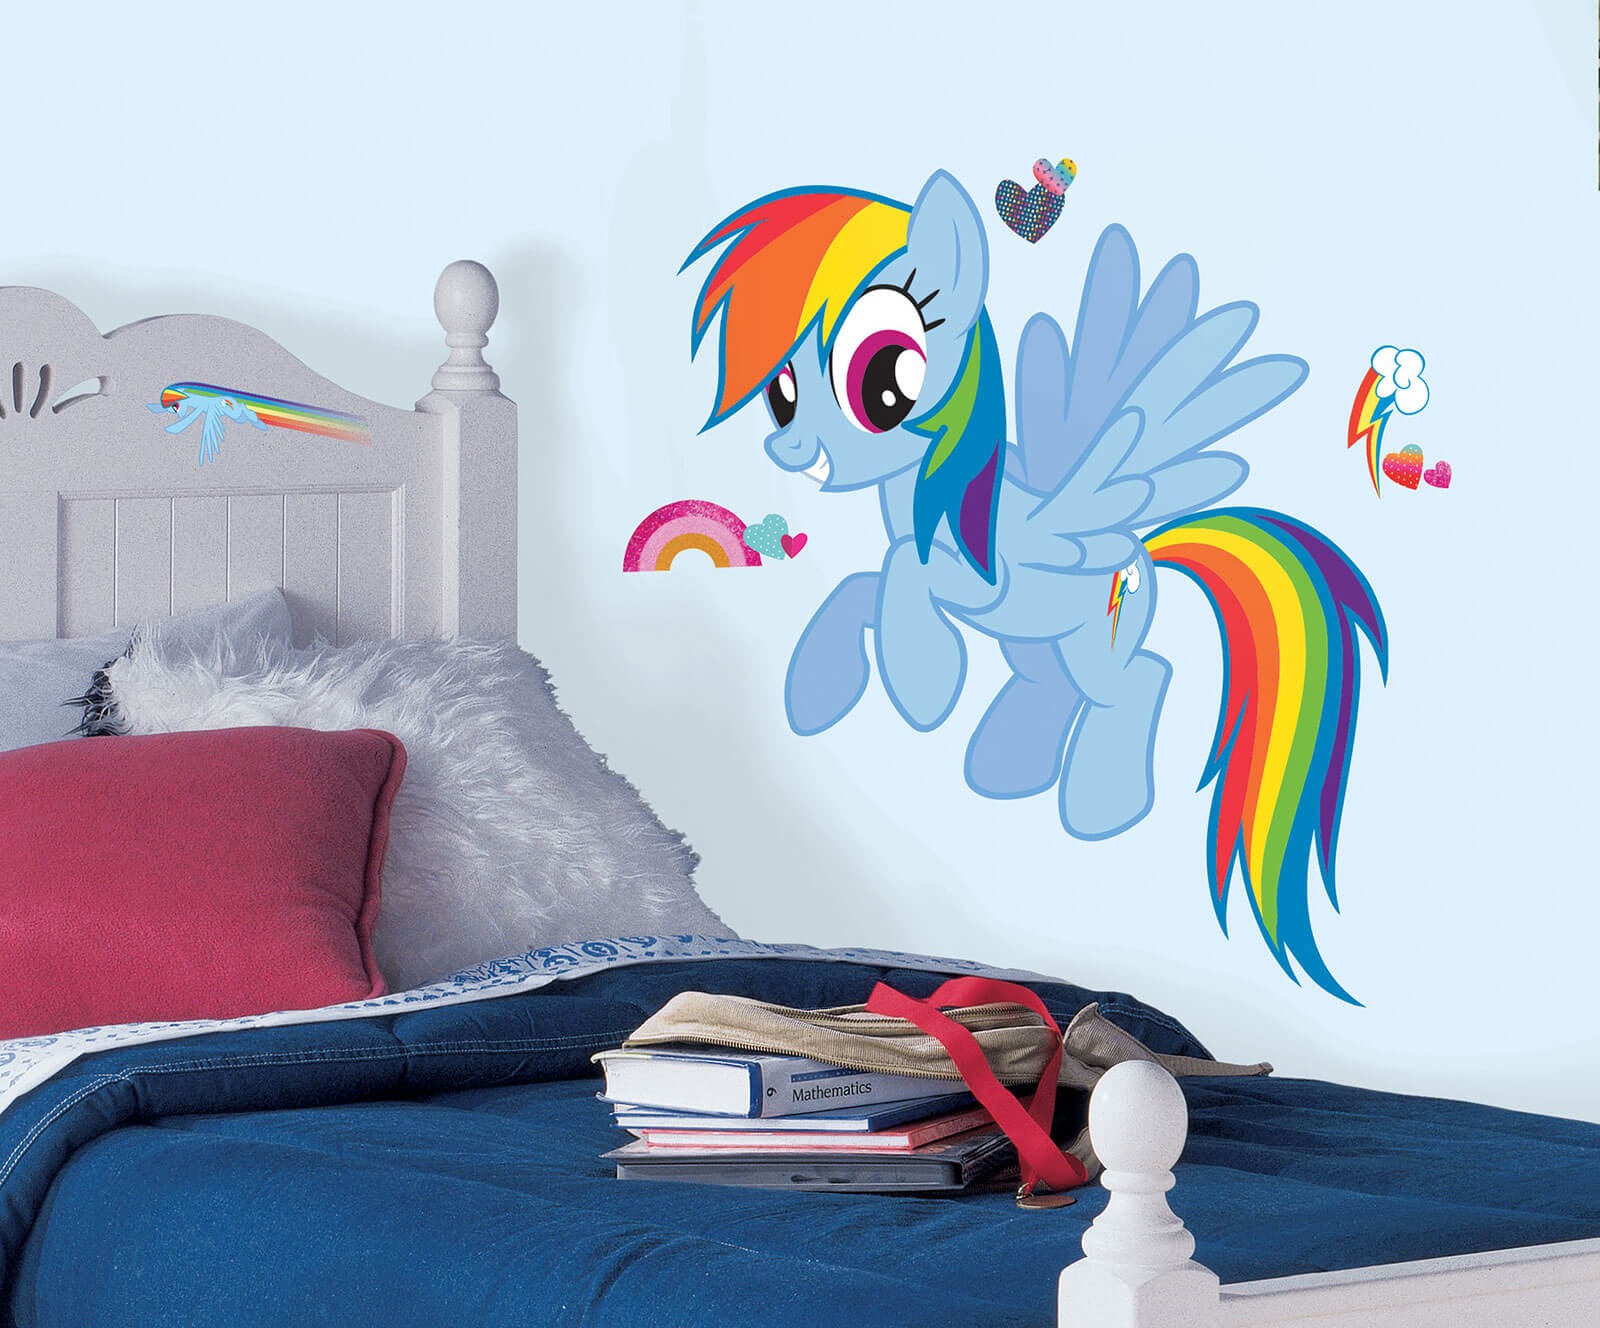
By: Lily Evans • Interior Design
How To Get Wall Decals To Stick
Introduction Welcome to the world of wall decals, where you can transform any space into a personalized oasis. Whether you’re looking to add a pop of color, bring in some nature-inspired designs, or display your favorite quotes, wall decals offer endless possibilities for interior design creativity. Wall decals, also known...
Read More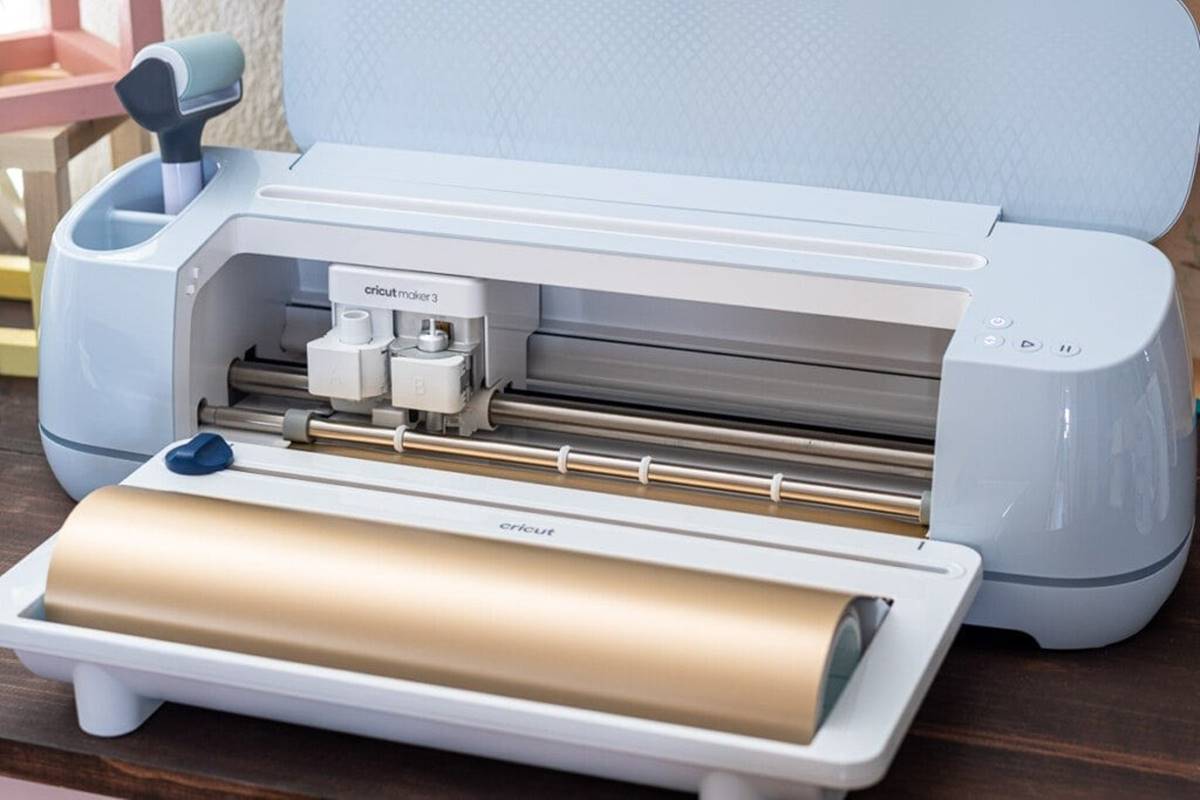
By: Noah Bennett • Interior Design
How To Make Wall Decals With Cricut
Introduction Wall decals have become a popular way to add a personal touch to your home’s interior design. Whether you want to add a motivational quote to your office space or create a whimsical mural in your child’s bedroom, wall decals are a versatile and impactful option. While you can...
Read More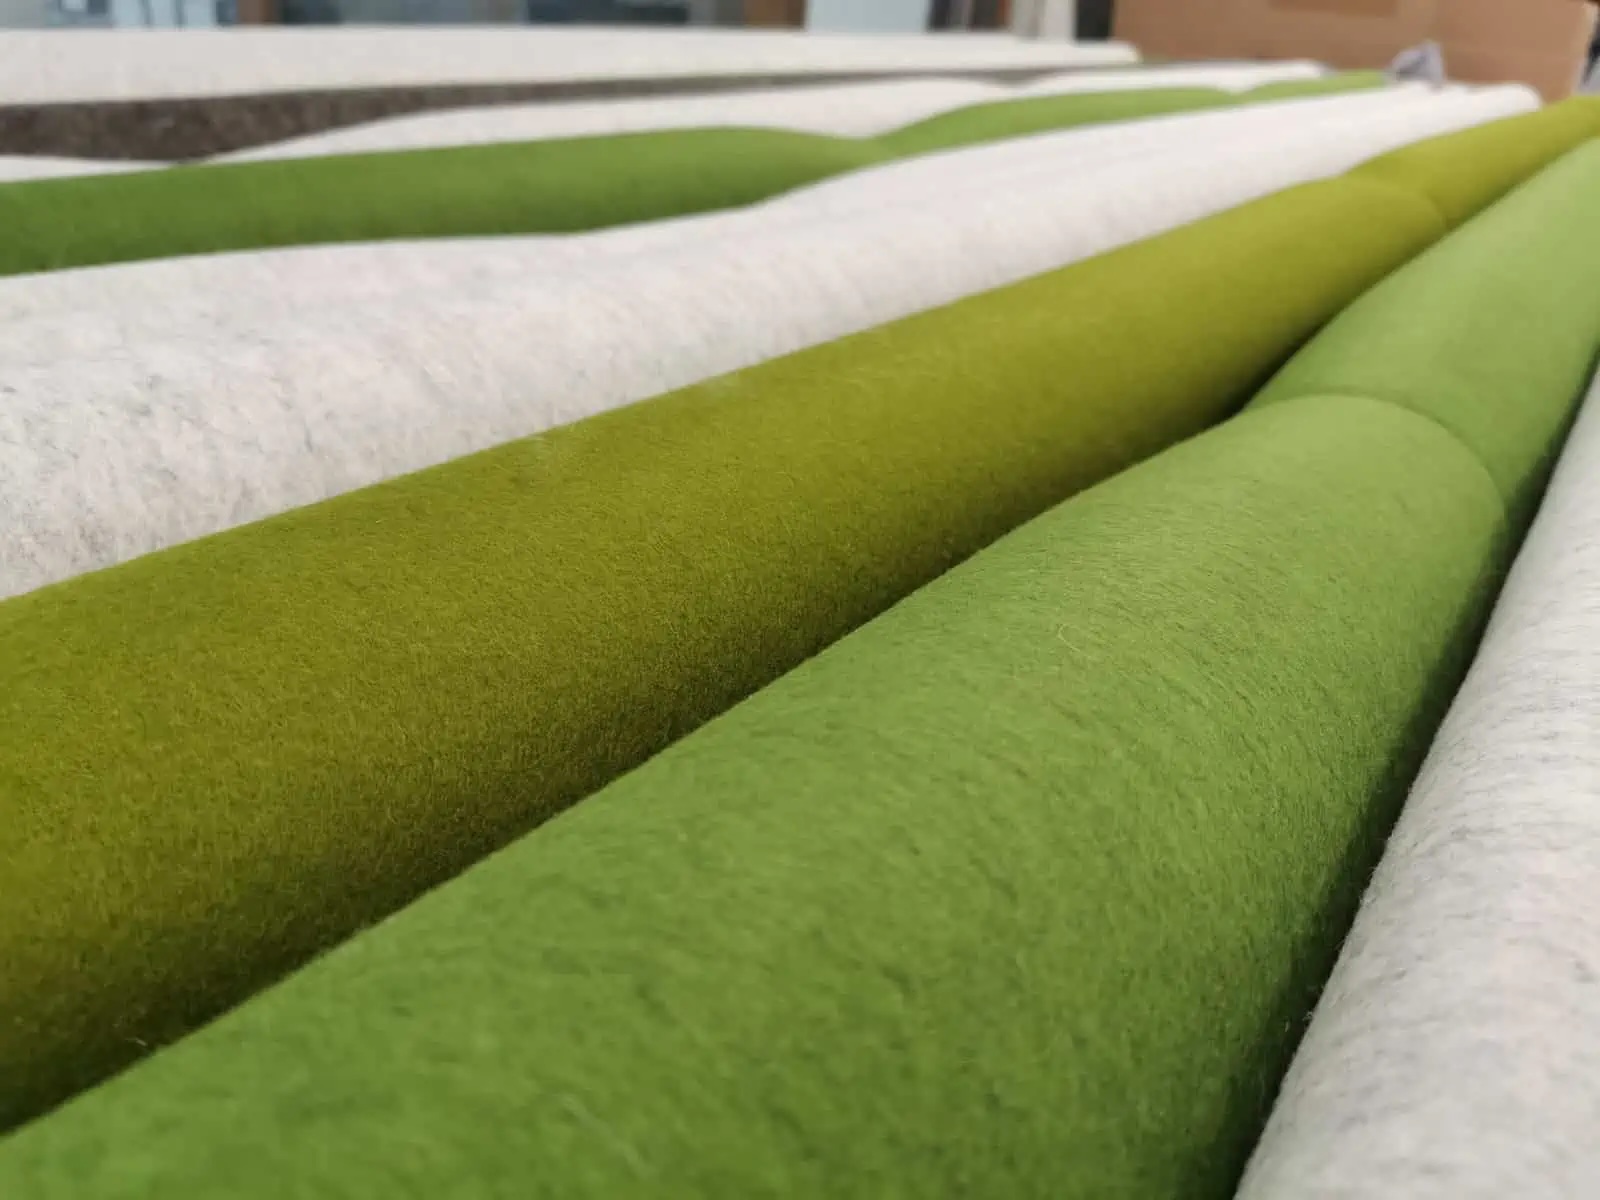
By: Chloe Davis • Interior Design
What Fabric Is Suitable For Acoustic Panels
Introduction In the world of interior design, creating a space that is visually appealing is not the sole consideration. Functional aspects such as acoustics play a crucial role in enhancing the overall experience. One effective solution to control and improve sound quality in a room is through the use of...
Read More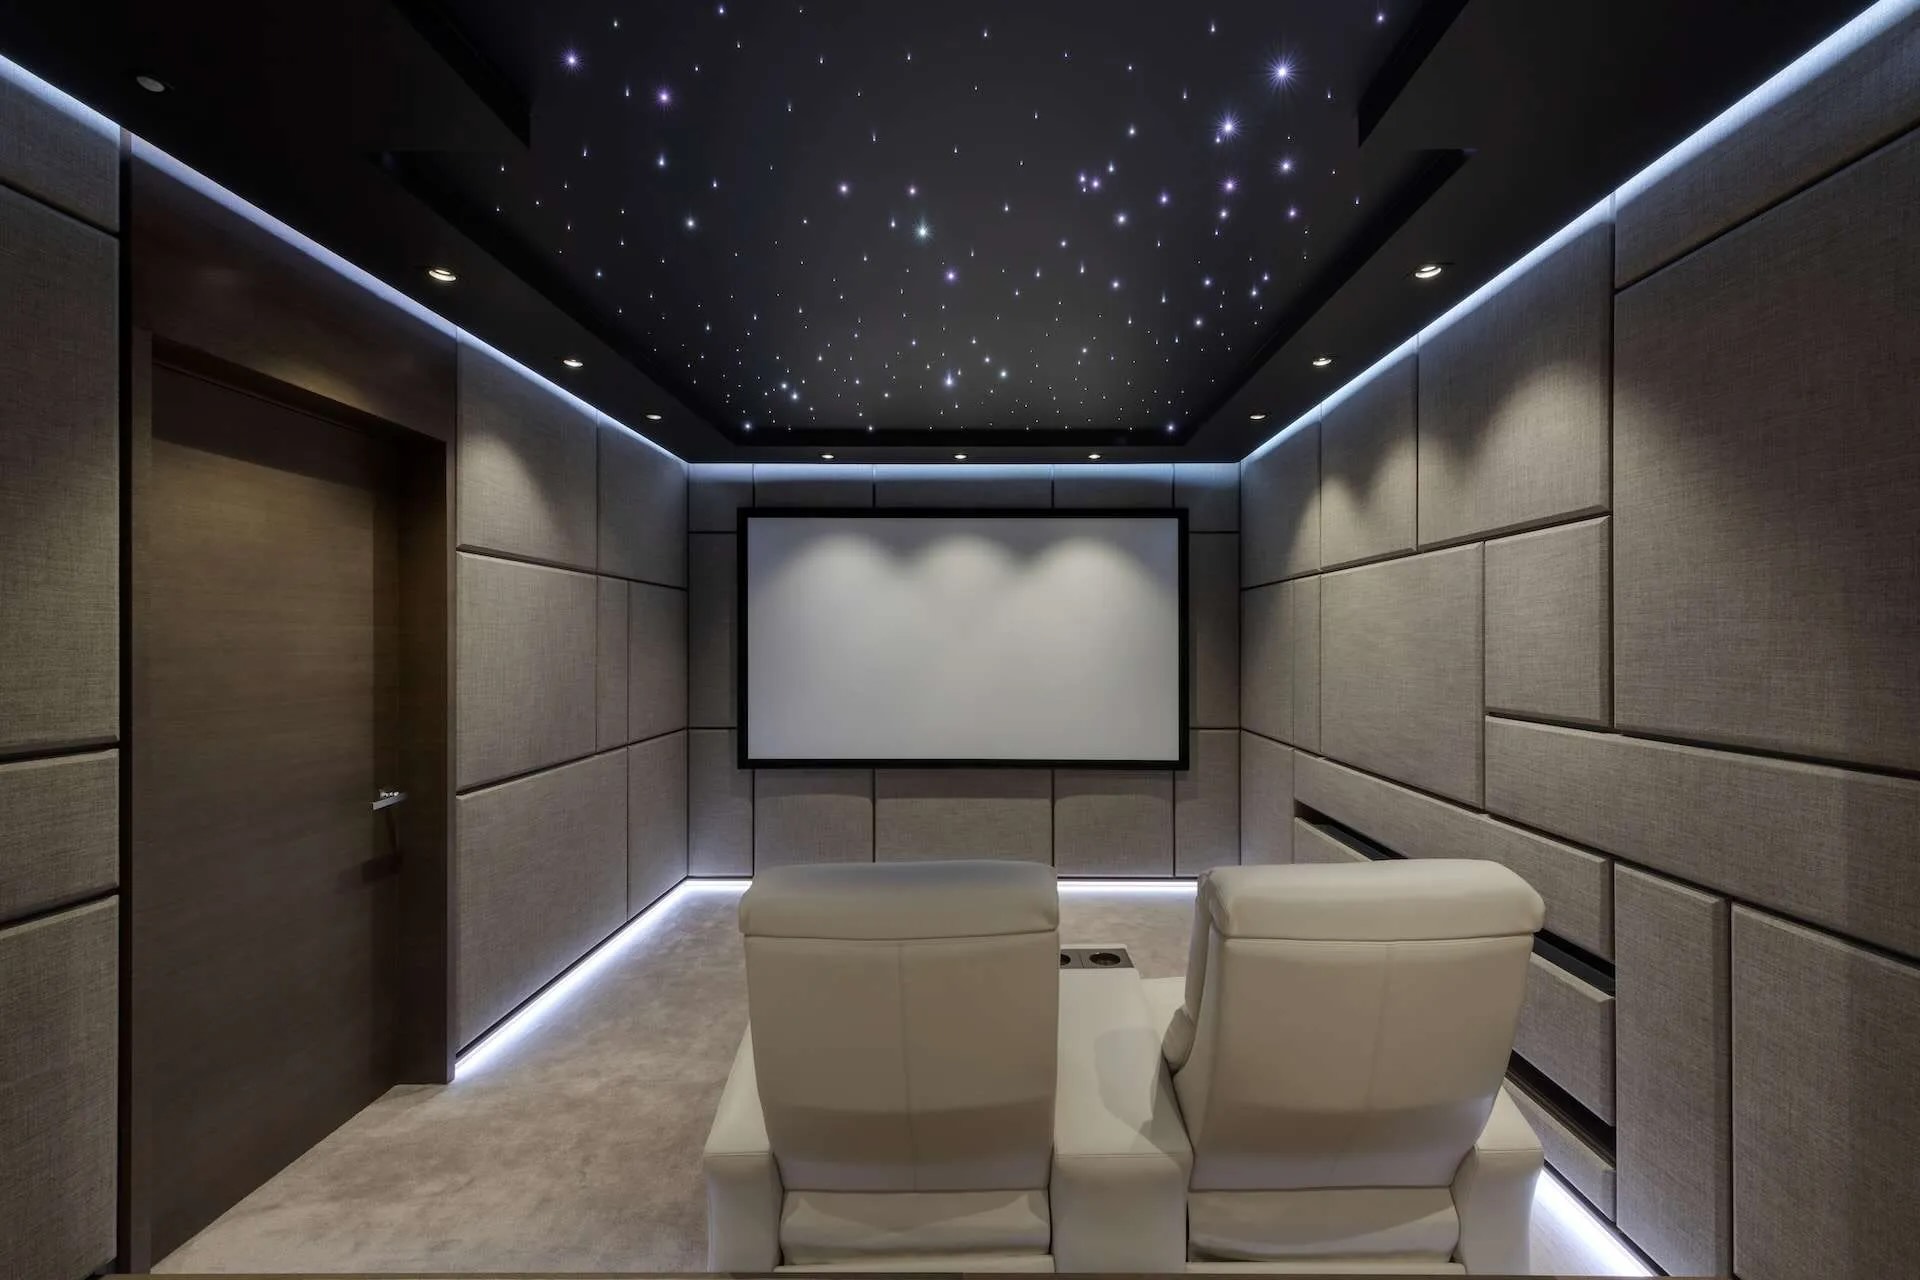
By: Isabella Mitchell • Interior Design
Where To Place Acoustic Panels In A Home Theater
Introduction Welcome to the world of home theaters, where you can immerse yourself in the magic of movies and music without ever stepping foot outside your home. As technology continues to advance, more and more people are investing in creating their own personalized home theaters. From the perfect screen and...
Read More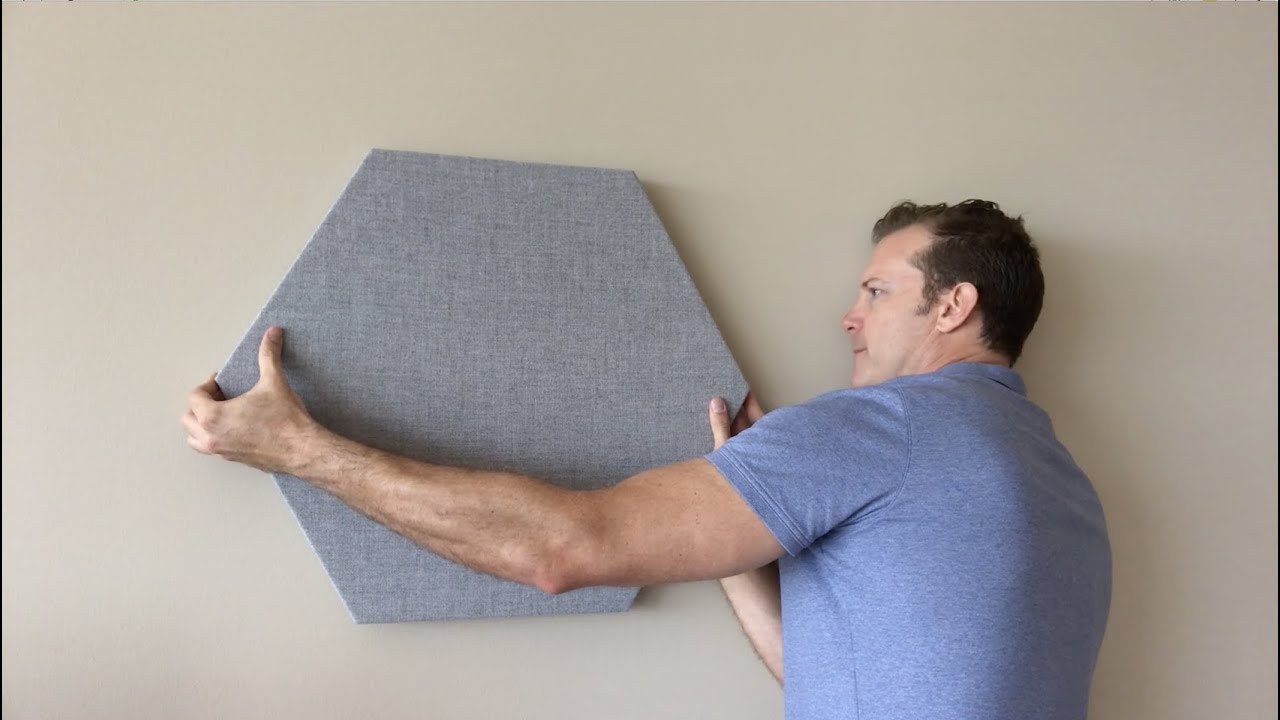
By: Amelia Brooks • Interior Design
How To Attach Acoustic Panels To The Wall
Introduction Welcome to our comprehensive guide on how to attach acoustic panels to the wall. Whether you’re a music enthusiast, a podcaster, or simply someone looking to improve the sound quality in your space, acoustic panels are an excellent solution. Not only do they absorb sound and reduce echo, but...
Read More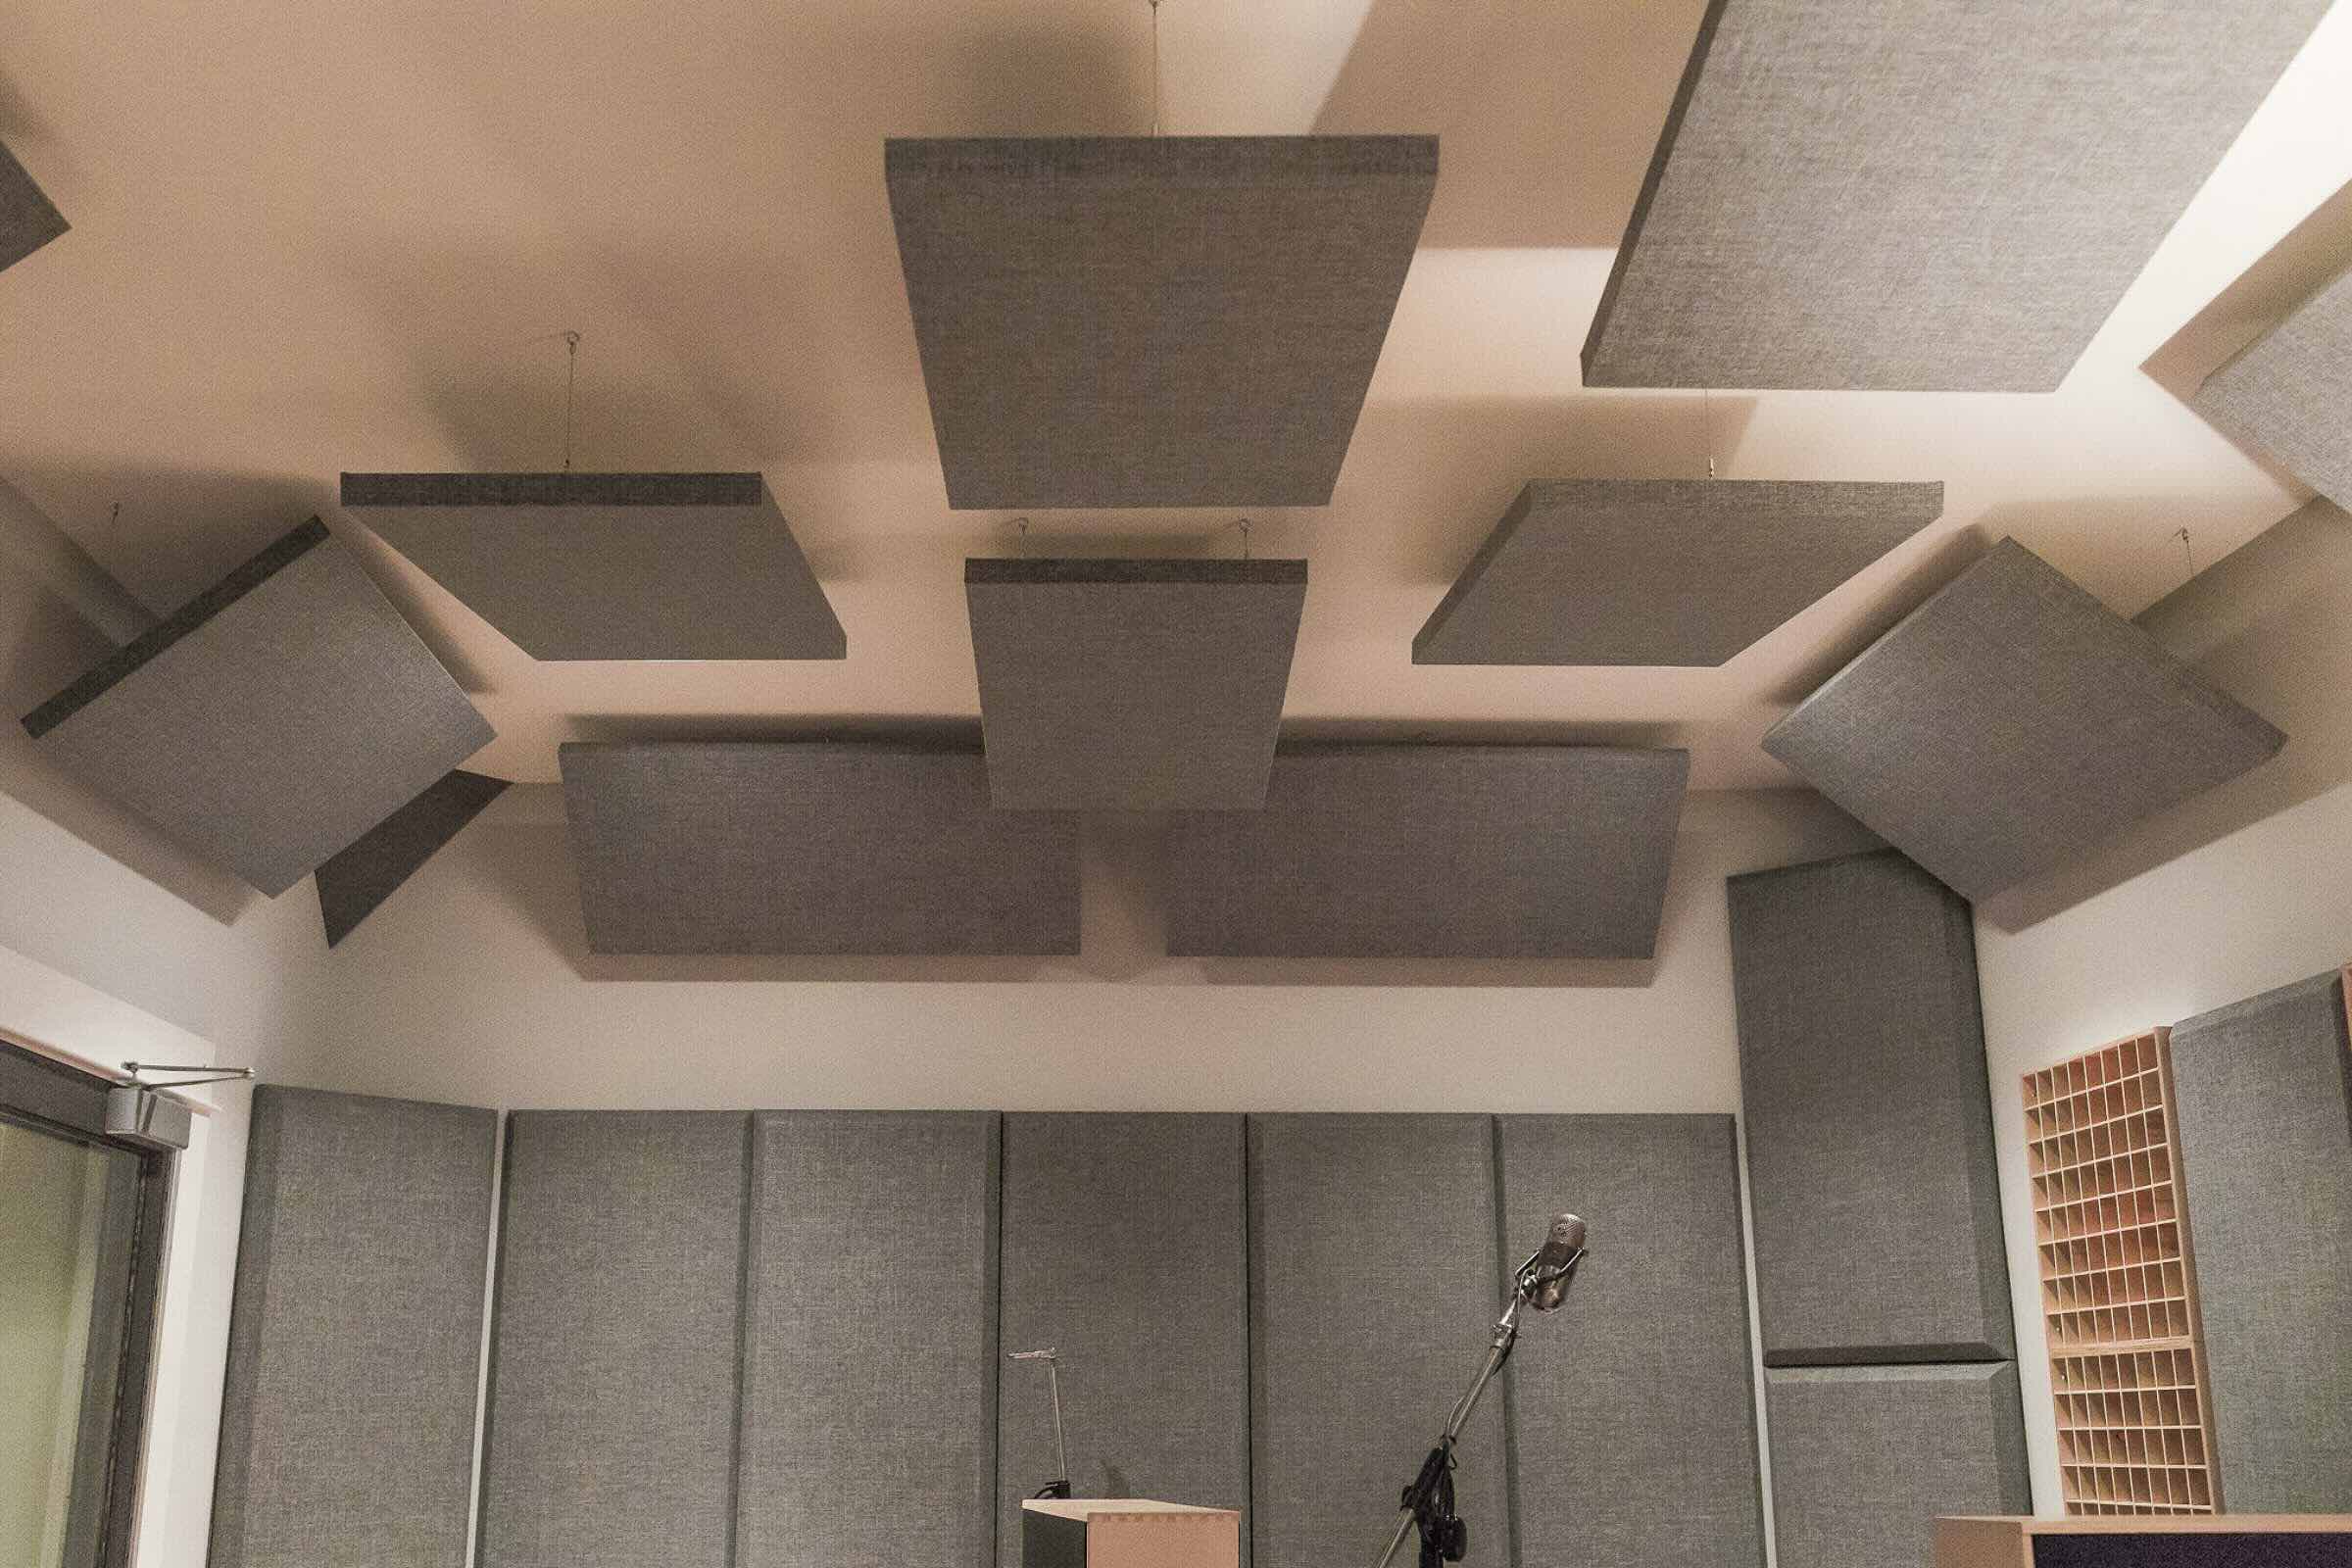
By: Isabella Mitchell • Interior Design
How To Hang Acoustic Panels On The Ceiling
Introduction Welcome to our comprehensive guide on how to hang acoustic panels on the ceiling. If you’re looking to enhance the sound quality and aesthetics of your space, installing acoustic panels is an excellent solution. Whether you are designing a home theater, recording studio, or a room for musical practice,...
Read More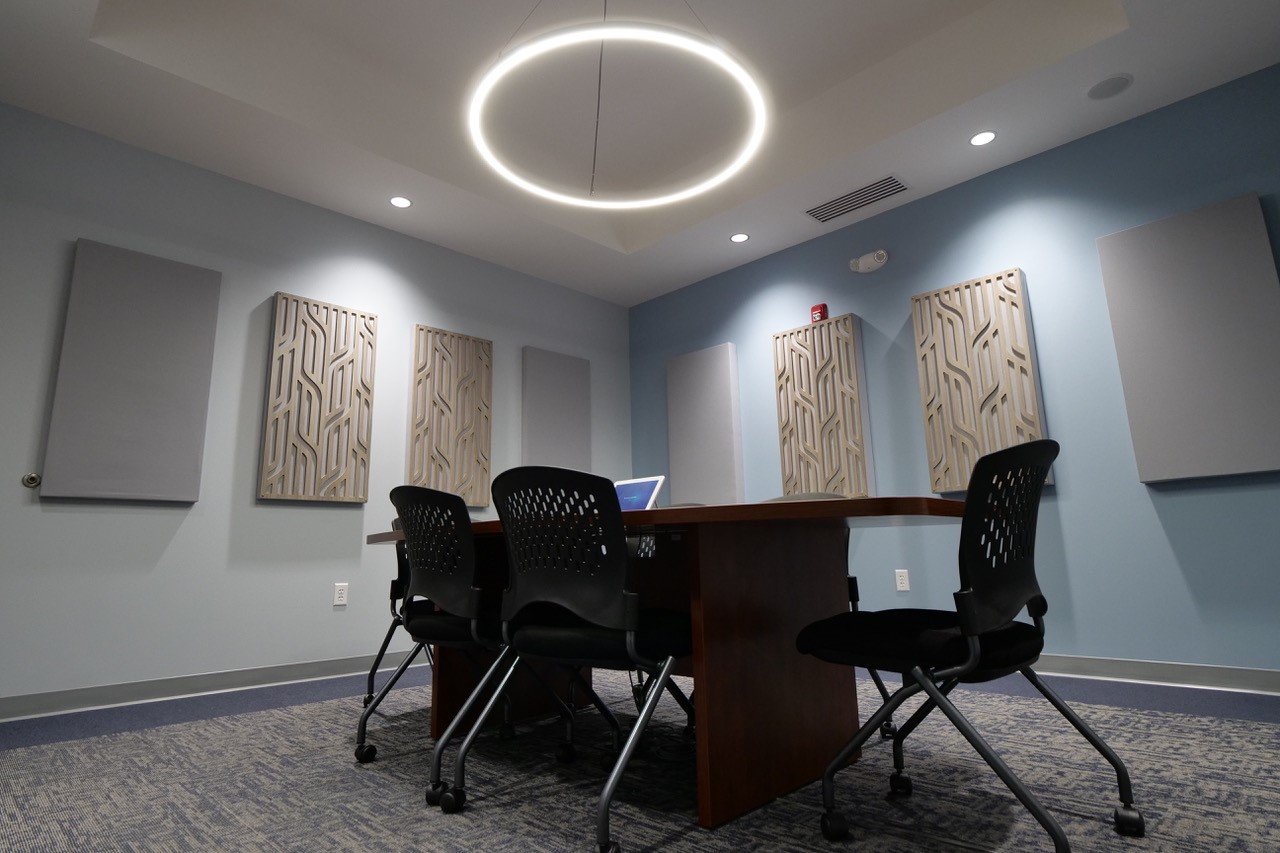
By: Chloe Davis • Interior Design
Where To Place Acoustic Panels In A Room
Introduction Welcome to the world of interior design, where every element of a room plays a crucial role in creating a harmonious and inviting space. One often overlooked aspect of interior design is acoustics. The way sound travels and interacts with the surfaces in a room can greatly impact the...
Read More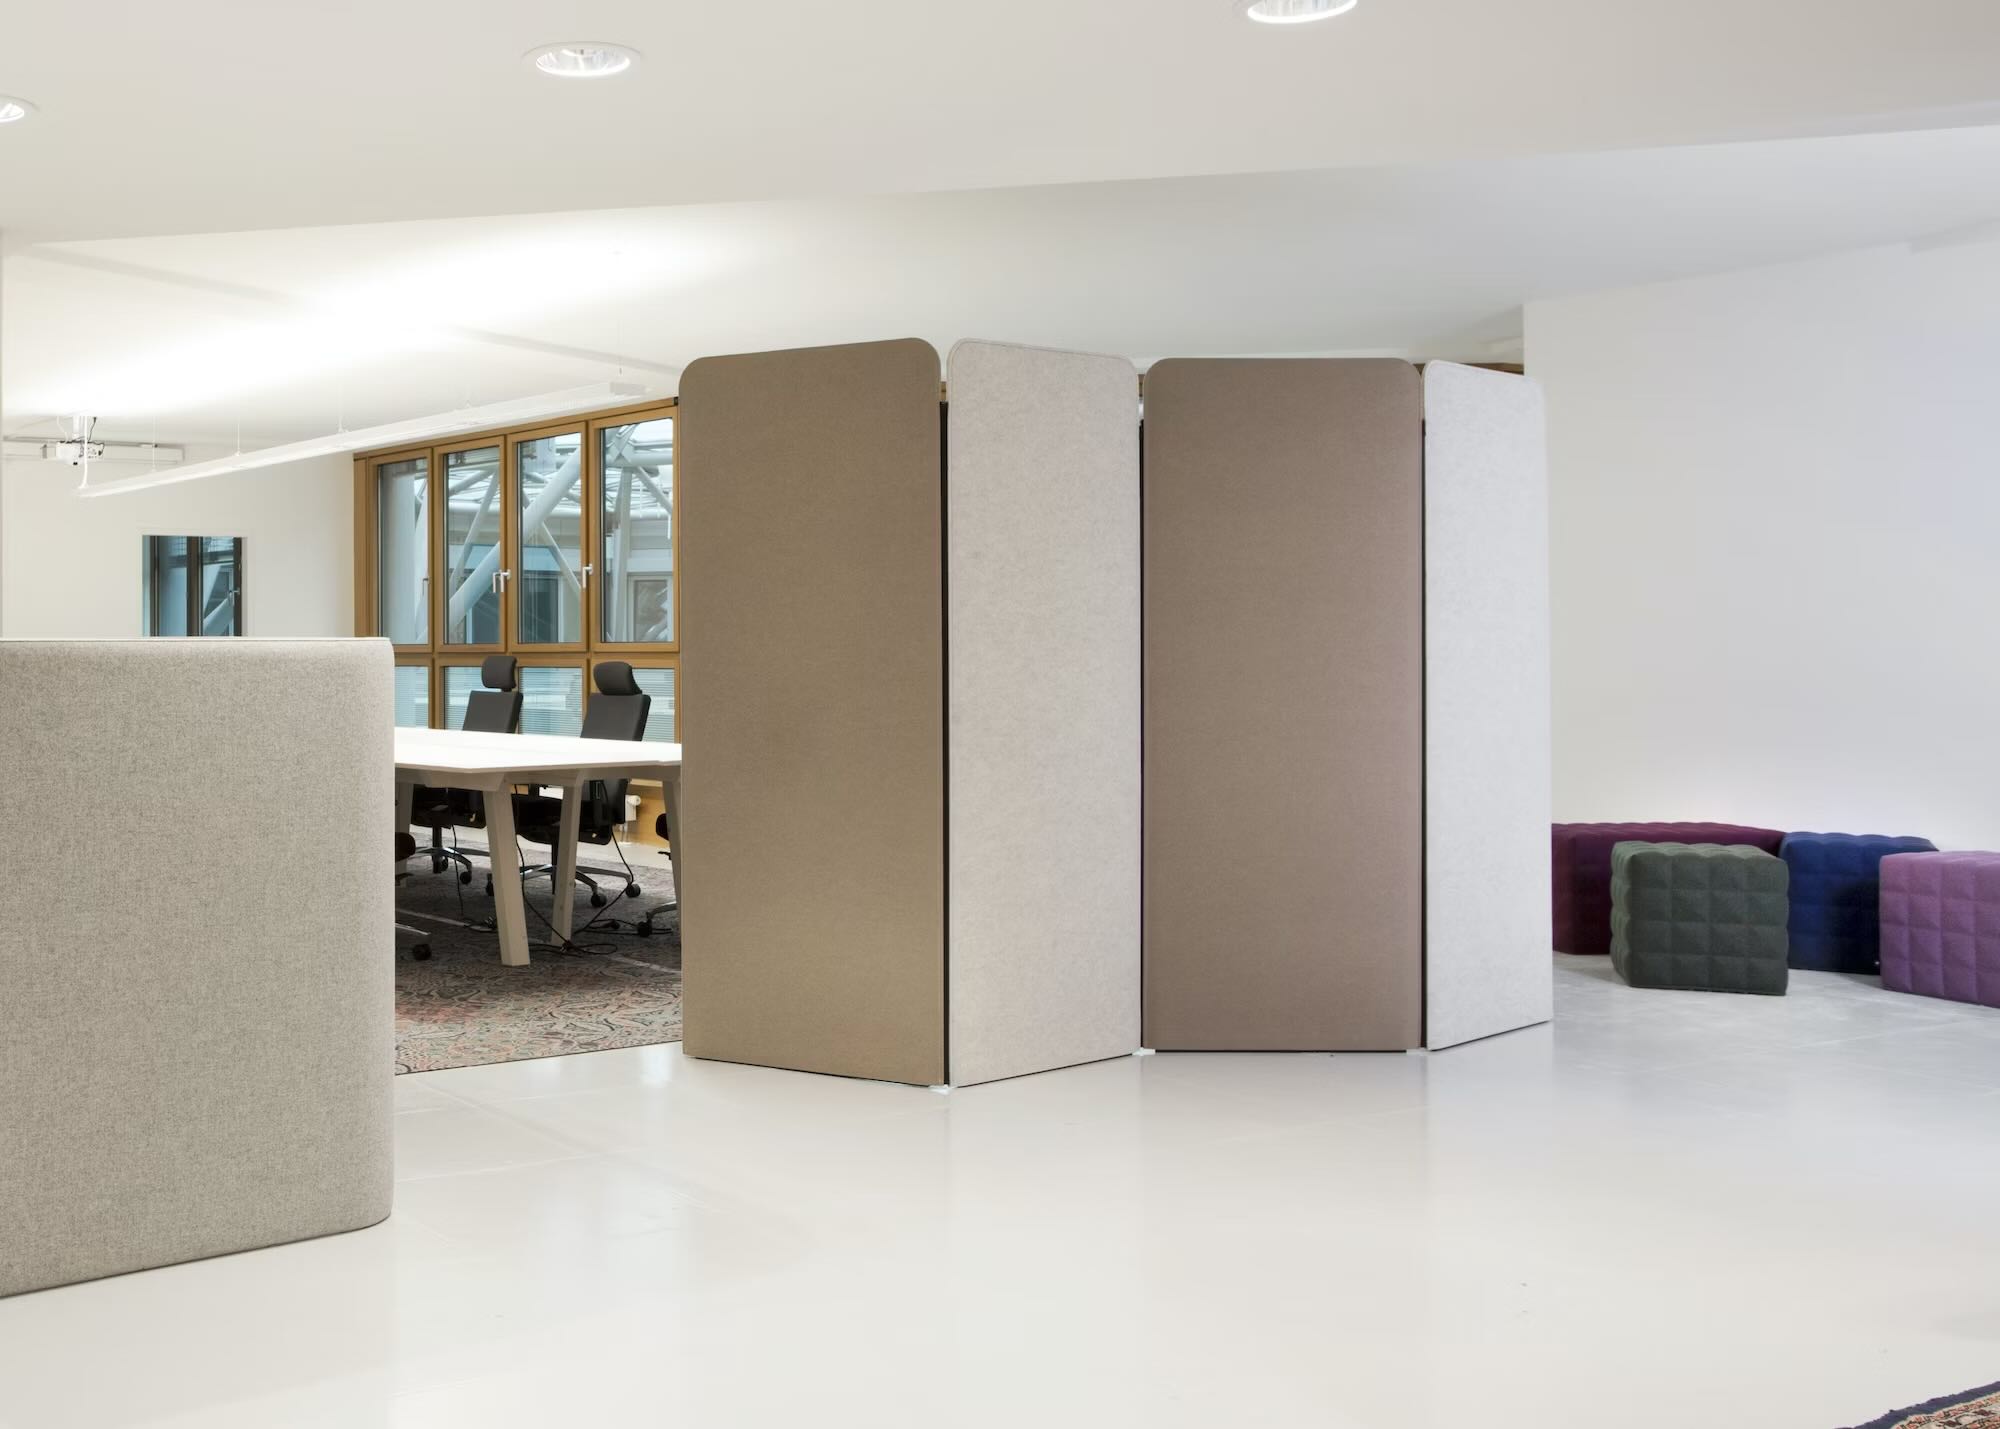
By: Sophie Thompson • Interior Design
Introduction Welcome to the world of interior design and acoustics! If you’re passionate about creating a harmonious and immersive space, then understanding the importance of acoustic panels is crucial. Whether you’re a musician, sound engineer, or simply someone who wants to enhance the audio quality in their home, acoustic panels...
Read More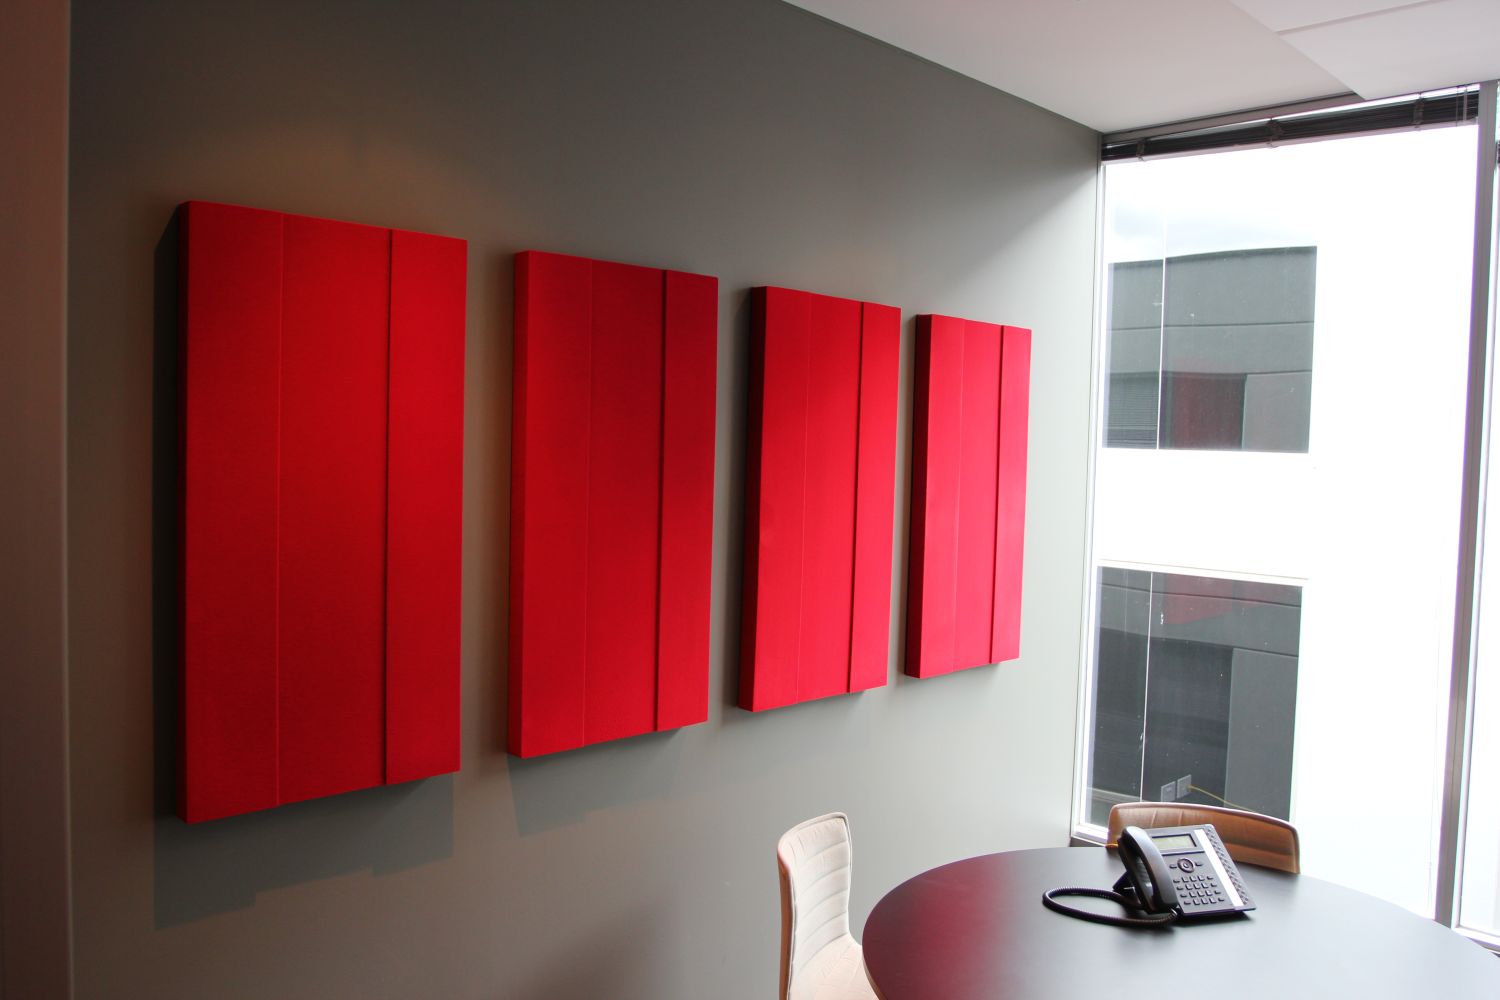
By: Benjamin Parker • Interior Design
Introduction Welcome to the world of interior design, where aesthetics meet functionality. If you’ve ever walked into a room and felt a sense of peace and tranquility, chances are, that space has been carefully crafted with acoustic panels to enhance the sound quality and overall ambiance. Acoustic panels are an...
Read MoreFeatured


By: William Harrison • Articles
8 Superior Instant Pot Duo Sv 6Qt Multi-Use Pressure Cooker For 2024
Read More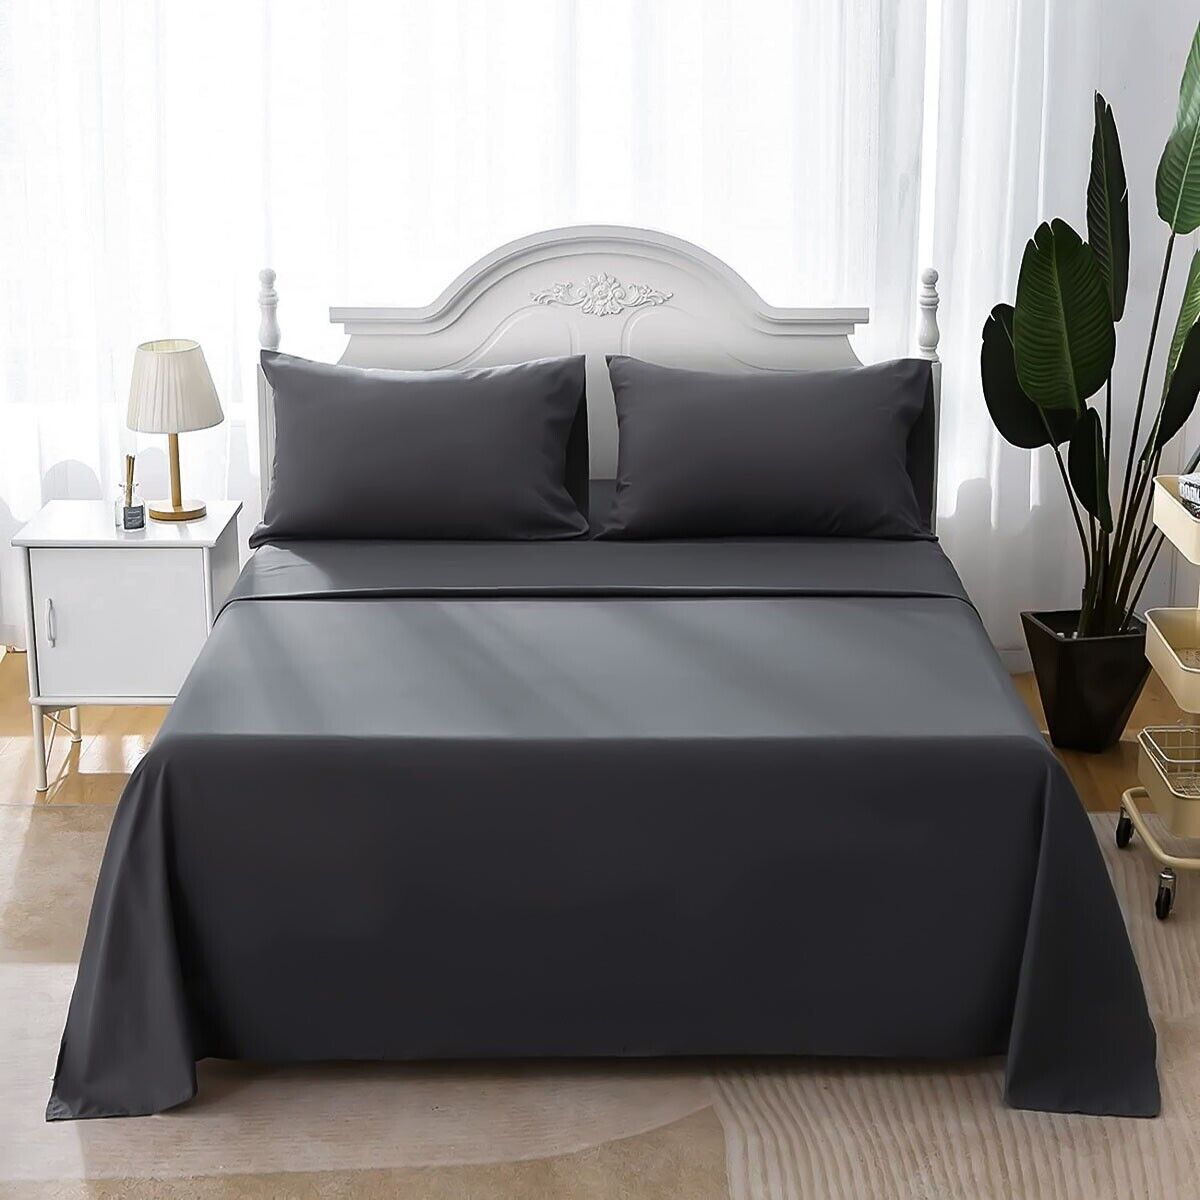
By: Olivia Parker • 100 Best Bedroom Furniture That Will Make Heads Turn
11 Amazing King Bed Sheets for 2024
Read More

PLEATED LAMPSHADE ARE MY NEW FAVORITE THING
SHOULD WE STAY LIGHT OR GO DARK WITH PAINTING OUR TINY MASTER BEDROOM?